March 3rd marks the potentially 8 weeks from the last frost date in Central Illinois. This is according to the U of I website that lists the “average last frost date”. Yes, I know I shouldn’t go based on the average last frost date and should go more towards the very last frost date – which pushes into mid-May – but that is almost a whole month away from the average last frost date for Central Illinois!
I bumped up the 8-week date a week early. Last year it would have been next Thursday instead of March 3rd. But, some things that I begin seeding on this date are frost hardy – such as cauliflower and broccoli.
Alright – enough talk. First, let’s show some pictures of what I was doing on Monday.
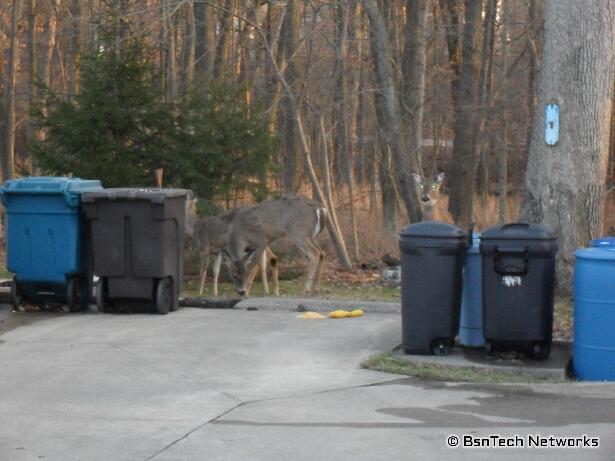
We had some visitors in the back yard – as we always do at night it seems. We had some old field corn in a box that a neighbor brought over to us – so I put it down by the end of the driveway to give these skinny little fellas some food. Amazing what the winter does to the deer. They were plump and fat before the winter hit – now they are very thin.
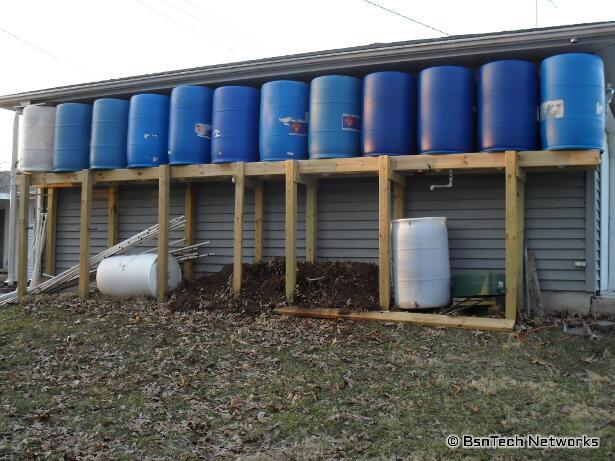
I got the rain barrels all hooked up – actually on Sunday. We had a bit of rain from Sunday into Monday morning – and something is not right. The weather people said we got about 1.12 inches of rain – and I only got a measly 60 – 75 gallons of water from that! My rain barrel collection system will hold somewhere between 660 and 700 gallons. I’m not fully sure exactly how much – because the 2″ PVC pipe that runs under the entire structure that ties all of them in can also hold some water as well. In addition, those 55 gallon drums seem to hold more than 55 gallons of water I think – especially when completely filled.
So I got all the rain barrels hooked up on Sunday and changed the downspout to divert the water to the first rain barrel (the white one on the left). From there, the 2″ PVC pipe that connects all of them underneath will gradually fill all of the barrels.
It is definitely a mess behind the garage. I have all of those leaves piled up next to the garage and all of the PVC pipe that I use for irrigating the garden is stored back there. I’m going to have to move some things around because I have two barrels that I have to put on the ground which will hold my compost tea. I’ll have more about this “project” later on – and I may make a YouTube video about it as well.
OK – now let’s see how the current plants are doing!
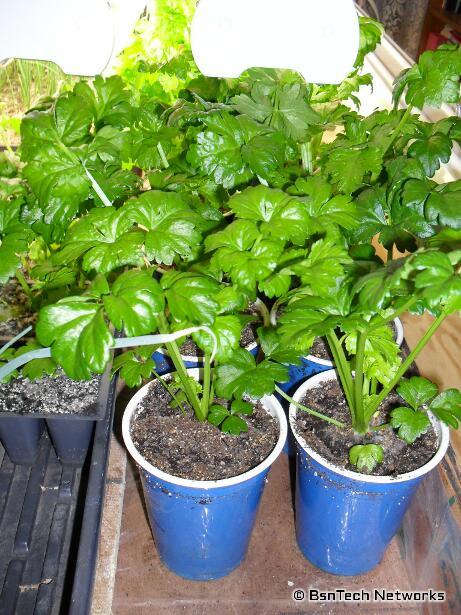
Wow – I’m astounded at how fast the celery is growing! It didn’t grow this fast when it was in the garden last year! These are the plants that I transplanted into the 16-ounce cups a couple of weeks back. The plants are now about 10 weeks old. I have a bad feeling I’m going to lose these because they are just growing too quickly. Maybe I’ll really have to dig deep and learn about floating row covers and making a temporary greenhouse in the garden to protect them from frost – and get them set out early.
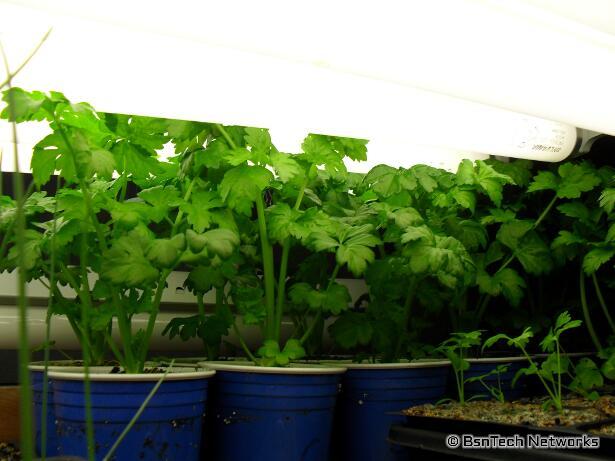
Another view of the Ventura Celery plants. You can see on the right side of the picture – there are some small celery plants. Those were the last batch of celery that I planted just in case I lost some plants. Believe it or not, I haven’t lost one Ventura celery plant this year! Watering plants from the bottom of a container and allow the water to seep into the soil is by far a better way than watering from the top.
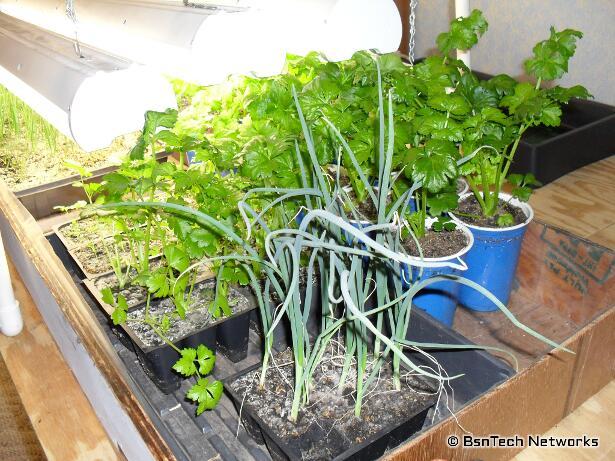
A view of all of the celery and the original Copra onion plants that were started 10 weeks ago. Good thing I started the rest of the onions earlier this year! Last year I planted them approximately 12 weeks before the last frost and they were not large enough for transplanting (at least I didn’t think so). This shows the onions that are 10 weeks old – and they are not large enough for transplanting yet.
Then of course – there is the mix of varying aged Ventura celery.
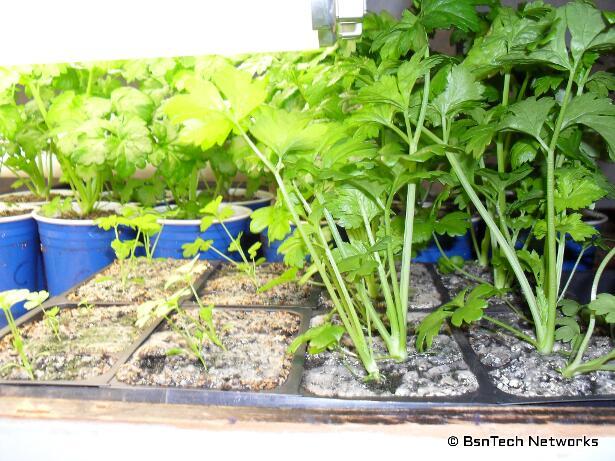
A closer view of the difference in the celery plants. Unfortunately the celery to the left – the small ones – are reaching for the light. I’m going to have to figure out something else to do here because the size of the plants next to them are what is causing the bulbs to be much higher than they should be.
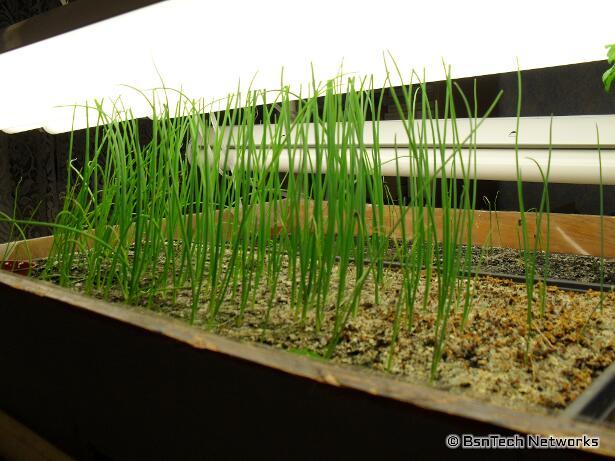
Above are the Copra onions that were planted on January 20th. So these plants are about 6 weeks old. Of course, it took up to two weeks for them to germinate – so they are really only a month old. They were planted 14 weeks from our average last frost date – so I planted them two weeks earlier than I did last year.
Now, for the part that took me almost all night to do – planting the next round!
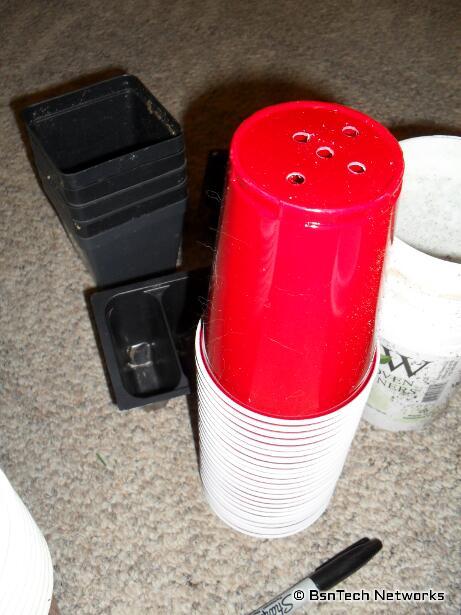
I purchased 40 16-ounce cups a few weeks ago because I knew I’d need them. It took me a LONG time to go through and punch five holes in each of the 40 cups. Basically I made stacks of 5 cups and ran the drill through them to make it go quicker – but it still took a while. The holes are needed so water can escape – and water can absorb up into the soil – since I bottom-feed everything now.
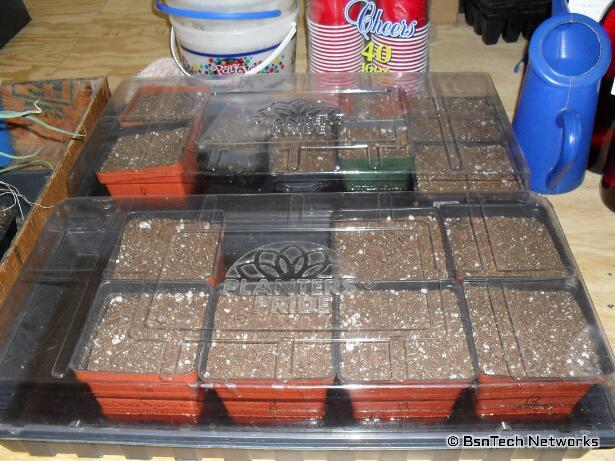
So here is a bit of the seeds I’ve started indoors. In the back on the left-hand side are two orange containers. I seeded three seeds of Roma Tomato in each of those. I only need one plant – but I’m hoping I get two so I can pick the best one to keep.
Next to those are two black plastic 3-pack containers. In here, I planted four seeds into each cell of the following lettuce:
- Red Salad Bowl (if it doesn’t work out this year, it is a goner)
- Simpson Elite (always been my best performer)
- Buttercrunch (variety did alright last year – but wasn’t great because of the hot season)
- Parris Island Cos Romaine (new this year – going to try a romaine variety of lettuce and this was recommended by the U of I for our area)
- New Red Fire Lettuce
I am going to plant four of each variety every two weeks so I hope this will provide enough lettuce for us. I’ve got space in the garden for about 50 plants – which means it will take me a total of 20 weeks to fully fill the garden with the lettuce. Hmm – now that I think about it, I wonder if I need to be starting lettuce every week since there are only 8 weeks left. That would give me 40 plants by the last average frost date.
Moving on – next to those black plastic 3-packs are two larger green square containers. I planted a new variety of pepper this year – Anaheim Hot Pepper. Two seeds were placed in each.
Lastly, there are two black plastic 4-packs to the very right. I planted those with the good standby – California Wonder Pepper. I planted seed that is two years old now (purchased from the store) in each of the cells – and also seeded seed that I saved from a pepper two years ago. Going to see how the germination plays out on those.
Now for the front tray. On the left-hand side, the first two orange containers are Red Cherry Tomatoes. Three seeds each were planted in the orange containers. Then the other five orange containers are Best Boy tomatoes. Because I have very few seeds of this variety, I only plant one seed in each container. I need at least three to germinate – so I am hoping for at least 60% germination and that none perish!
The trays are completely filled with compost tea and will be left overnight to soak in from the bottom. Once they are good and saturated with the compost tea mixture, the peppers and tomatoes will be put over the heating mat to help germination come along quicker.
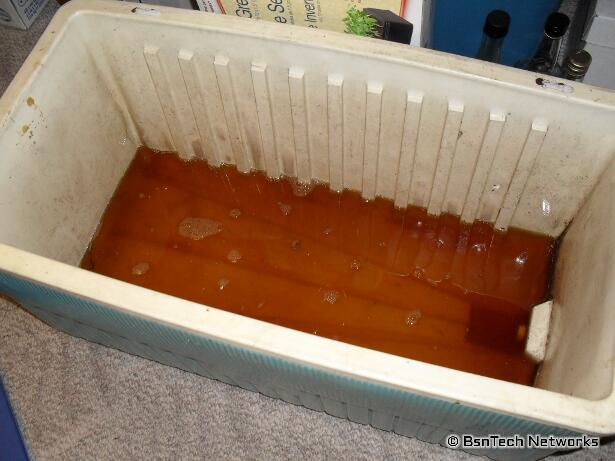
Yuck! What is that?? Oh, it is the liquid nutrient that have really propelled my seedlings! Good ole compost tea! With the rain that we had Sunday night into Monday, I filled my compost tea brewing container (it is the 55-gallon drum in the picture above that is sitting on the ground; it is filled with leaves and other dead plant materials). In my rain barrel system, I made a cut into the 2″ PVC pipe and placed a ball valve on it. So it is easy to fill the compost tea brewer – just open the ball valve and the water comes out right into the brewer!
Anyways, I didn’t want the water to go to waste – and I’ve already used a lot of gallons of compost tea that was saved from last year on my seedlings. So I worked at refilling the container in the house with the supply outside. Now I should have more than enough (I hope) to make it through the rest of the growing cycle.
The picture above is an old cooler that I was using to bring in the tea from outside. Once I was done with that, it was time to do the rest of the planting.
I didn’t get pictures of this – but I’ve also started the broccoli and cauliflower. I planted a new variety of cauliflower this year – called Snow Crown. I used Snowball X cauliflower a few years back with bad results; only received one curd off of eight plants. GardenWeb members swear by Snow Crown – so I purchased this and planted ten seeds (one seed each) in ten 16-ounce cups. The cups were then placed in this cooler to absorb the compost tea and saturate the soil mixture.
The same thing was done with the two varieties of broccoli. The good-ole standby that has performed very well for me – Green Goliath – and a new variety this year – Premium Crop Broccoli. I planted ten of each variety into their own 16-ounce cups as well and put them in the cooler to saturate the soil.
Based on my previous plans for my garden, I had figured growing 12 cauliflower and 24 broccoli. As I expected, my mind has changed. What the heck will two people do with 24 heads of broccoli? Heck, we only had seven heads last year and we just finished it up a few weeks ago! So, I reduced the number of broccoli from 24 to 12 – still five more than last year (really only four – because one plant died last year and didn’t produce).
Same goes for the cauliflower. The first year eight were planted, only one produced a good-sized curd. Originally I was going to plant 12 cauliflower this year – but that has been reduced to only six.
Basically the 12 broccoli and 6 cauliflower all fit in one row. The other row that was going to have them will now be planted with potatoes instead. That will give us another 27 potato plants. We use potatoes – and they don’t have to be started indoors – such a much better solution! So the potato count is now up to about 170 – more than double what we planted last year.
OK – last thing. Speaking of potatoes, our local farm store – Rural King – got their seed potatoes in this past weekend. While we were visiting family, we made a stop in at the main store that started it all in Mattoon, IL where they have a huge warehouse on the store. But, they had Red, White, and Gold potatoes (Red Pontiac, Kennebec, and Yukon Gold). We purchased about 10 pounds of Kennebec (that is all we planted last year), and about 6 pounds of Yukon Gold. Yukon Gold is ready to harvest before Kennebec – and therefore doesn’t store as long – but I’d like to see how they taste compare to Kennebec. How much did they cost? 28 cents a pound. Thats right – amazing that places charge $7 for a bag of five pounds of seed potatoes. So, we got 16 pounds of potatoes less than $5.
